


Learn the art of making geometric wall designs and add a touch of modern elegance to your home. In this comprehensive guide, we'll explore three fantastic methods: using paint, experimenting with wallpaper, and incorporating wooden slats. Get ready to unleash your inner artist and let's dive into the world of geometric design!
Geometric Magic with Paint
Revitalize your walls with vibrant colors and clean lines. Follow these steps to achieve a mesmerizing geometric wall design using paint.
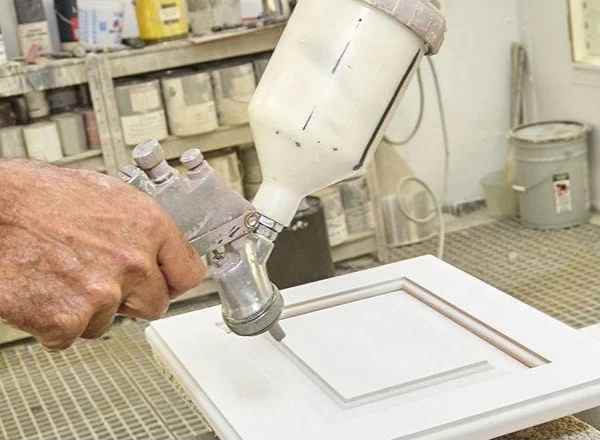
Step 1: Gather Your Supplies
Before you start, ensure you have high-quality paint, painter's tape, a level, and brushes. Choose a color palette that complements your existing decor.
Step 2: Plan Your Design
Use a pencil to lightly sketch your desired geometric pattern on the wall. This will be your guide when applying the painter's tape.
Step 3: Tape it Right
Apply painter's tape along the pencil lines, ensuring they're straight and secure. This will create clean, crisp lines when you paint.
Step 4: Paint Away
With the tape in place, start painting each section with your chosen colors. Use a small brush for precision. Allow the paint to dry completely before removing the tape.
Step 5: Remove the Tape
Once the paint is dry, carefully peel off the painter's tape to reveal your stunning geometric design.
Pro Tip: Experiment with different shapes and color combinations to create a truly unique look.

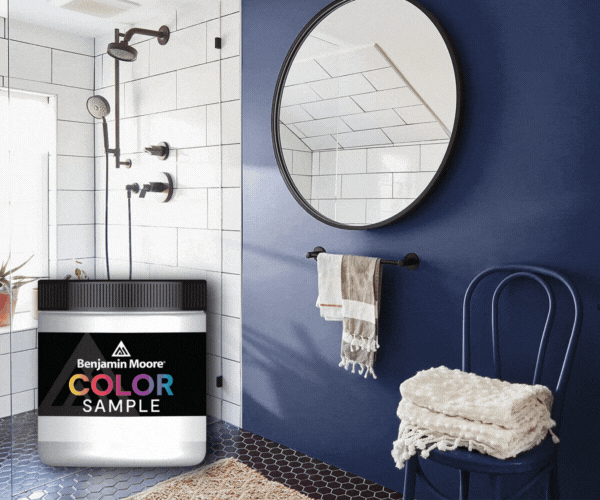
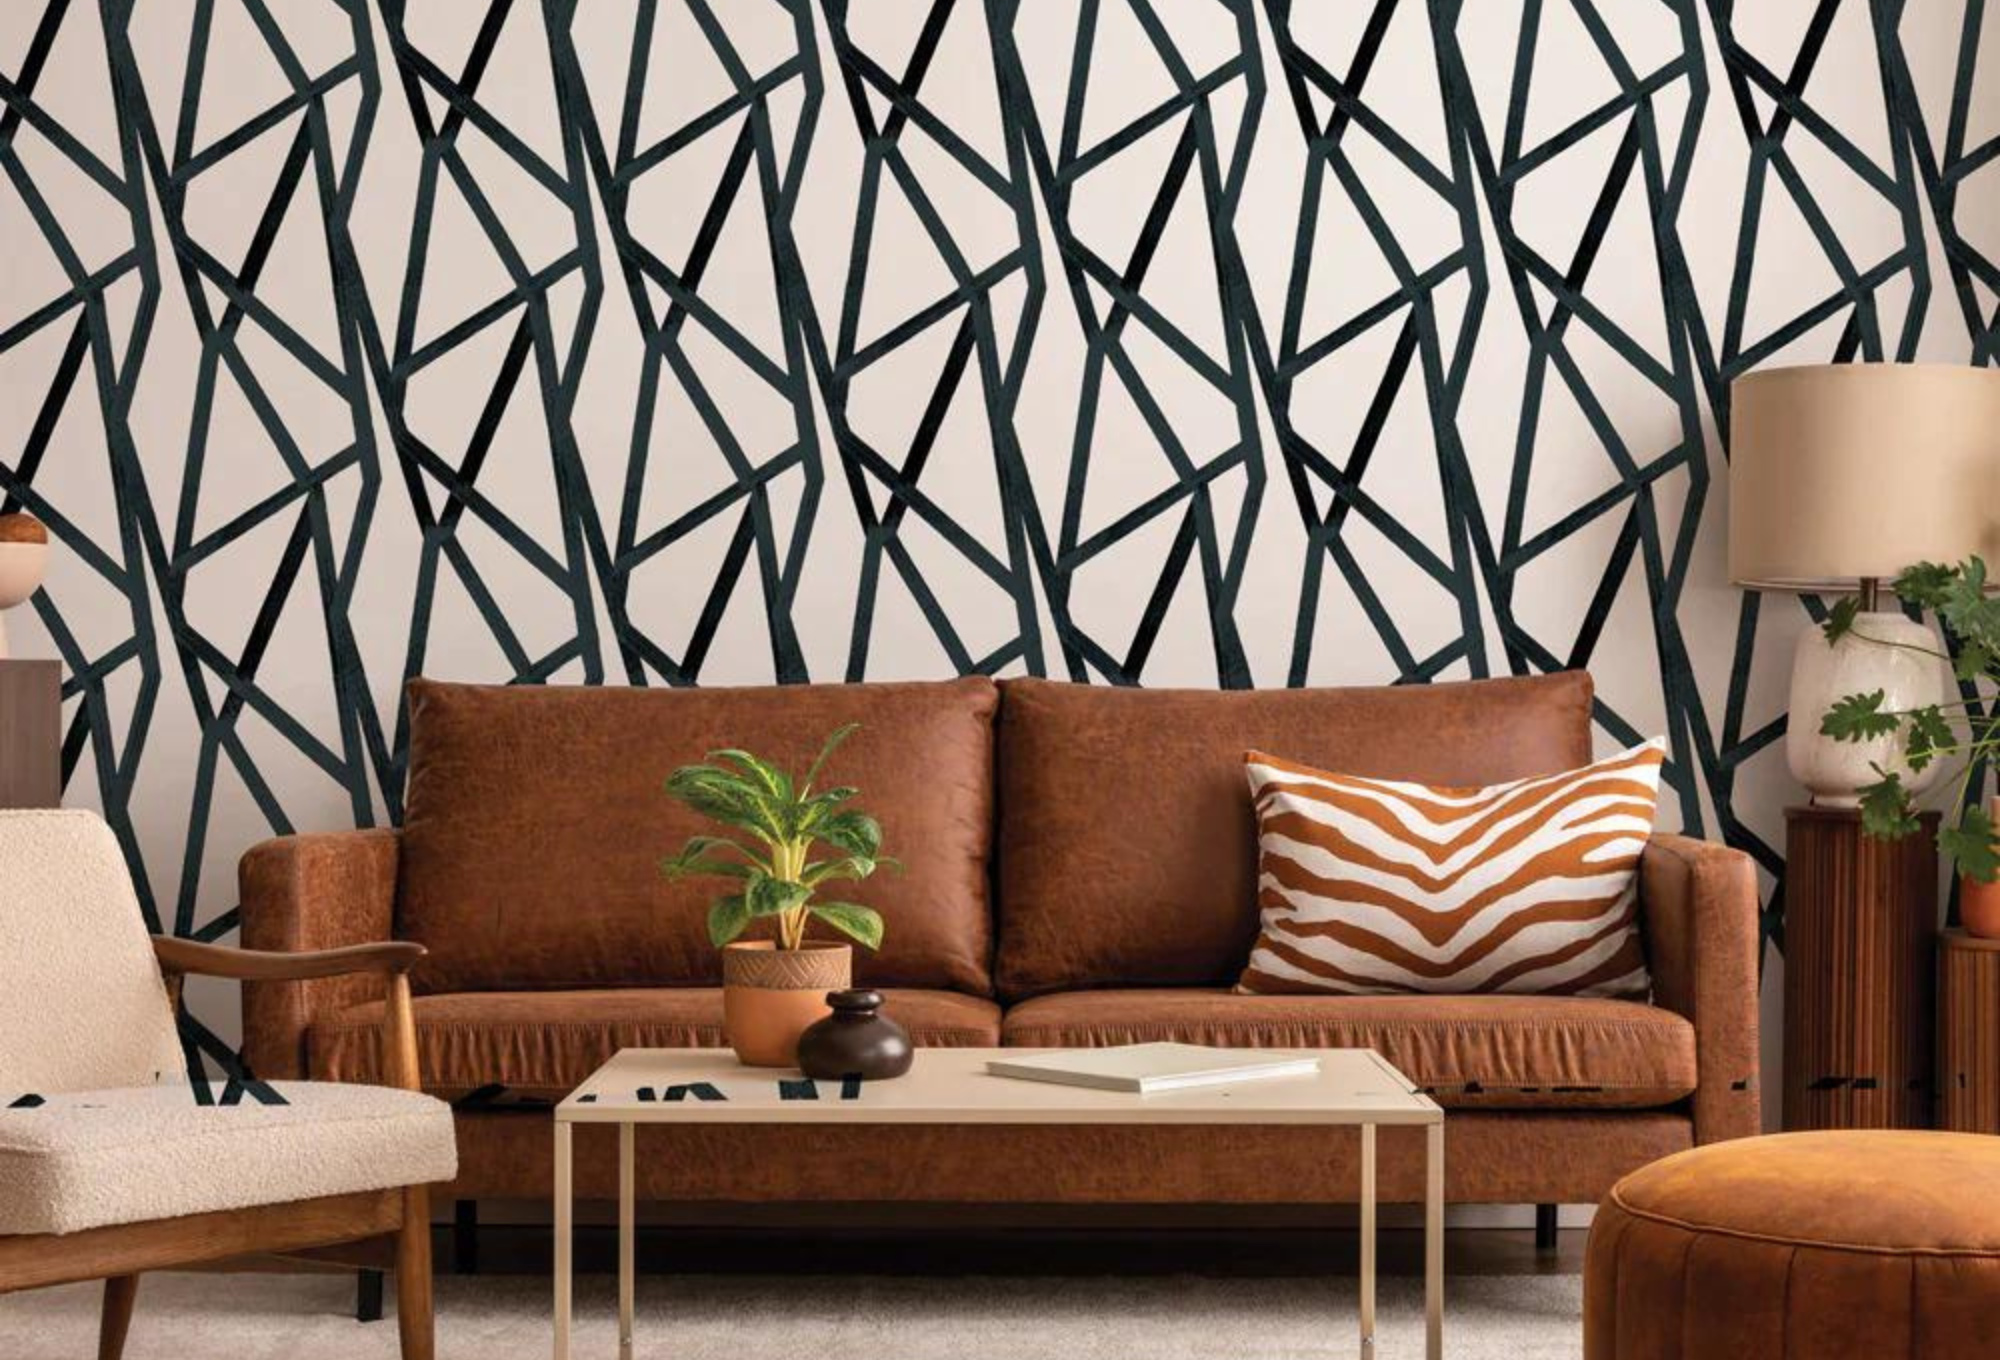
Apply Peel and Stick Wallpaper
Step 1: Prepare Your Wall
Before diving into the world of peel and stick wallpaper, it's crucial to prepare your wall properly. Start by cleaning the surface to remove any dust, dirt, or imperfections. Use a mild cleanser and a soft cloth to ensure a smooth and even application. If there are existing wallpapers, consider removing them to create a clean canvas for your new design.
Step 2: Make a Guideline
Creating a straight and level guideline is essential for achieving a polished look. Use a level or a laser guide to mark a straight vertical line on your wall. This guideline will serve as a reference point to ensure that your wallpaper is applied evenly and straight.
Step 3: Apply the First Strip
Now that your wall is prepped and your guideline is in place, it's time to start applying the peel and stick wallpaper. Begin at the top of the wall, aligning the top of the wallpaper with the guideline. Slowly peel off the backing as you press the wallpaper onto the wall, smoothing out any bubbles or wrinkles as you go.
Step 4: Apply the Rest of the Strips
Continue applying the wallpaper one strip at a time, aligning each new strip with the previous one. Take your time to ensure a seamless pattern match. If your wallpaper has a specific pattern, be mindful of aligning it correctly to maintain a cohesive look. Repeat the process until the entire wall is covered.
Step 5: Smooth and Trim
After all the strips are applied, use a smoothing tool or a squeegee to eliminate any air bubbles and ensure a tight bond between the wallpaper and the wall. Pay extra attention to the edges and corners to achieve a professional finish. Once the wallpaper is smoothed out, use a sharp utility knife or scissors to trim any excess material along the edges and corners.
Step 6: Clean Walls and Reinstall Electrical Faceplates
To complete the installation, give your newly wallpapered walls a final cleaning with a damp cloth to remove any residue. If you had to remove electrical faceplates before applying the wallpaper, now is the time to reinstall them. Ensure that they fit securely over the wallpapered surface, and you're done!
Congratulations! You've successfully installed peel and stick wallpaper to refresh your space effortlessly. Enjoy the newfound style and personality your walls now exude.
Pro Tip: Mix and match solid-colored walls with geometric wallpaper for a dynamic and visually appealing contrast.

Wooden Elegance
For a touch of warmth and texture, let's explore creating a geometric wall design using wooden slats.
Step 1: Choose Your Wood
Opt for thin, lightweight wooden slats. You can choose to stain or paint them to match your desired aesthetic.
Step 2: Measure and Cut
Measure your wall and cut the wooden slats to the desired length. Precision is key for a polished look.
Step 3: Arrange the Pattern
Lay out your wooden slats on the floor in the desired geometric pattern before attaching them to the wall. This helps visualize the final look.
Step 4: Attach to the Wall
Using a level and a nail gun or adhesive, attach the wooden slats to the wall. Ensure they're evenly spaced and level for a professional finish.
Step 5: Final Touches
Stand back and appreciate the warmth and sophistication your wooden geometric wall design brings to the room.
Pro Tip: Experiment with different wood finishes to match your interior style, from rustic to modern.
Conclusion
Congratulations! You've successfully learned three distinct methods for creating captivating geometric wall designs. Whether you choose the precision of paint, the simplicity of wallpaper, or the warmth of wooden slats, each technique allows you to express your creativity and personalize your space. Take this opportunity to celebrate your achievements as you admire your newly transformed walls. Happy crafting!