


From Prep to Perfection: A Comprehensive Guide on How To Make a Chalkboard Wall
Are you looking to add a touch of creativity and functionality to your space? A chalkboard wall might be just the thing you need. In this comprehensive guide, we'll take you through the step-by-step process of creating a chalkboard wall that not only serves as a functional canvas but also becomes a unique focal point in any room.
Getting Started: Gathering Your Materials
Before you dive into the world of chalkboard walls, ensure you have all the necessary materials on hand. You will need:
- Painter's tape
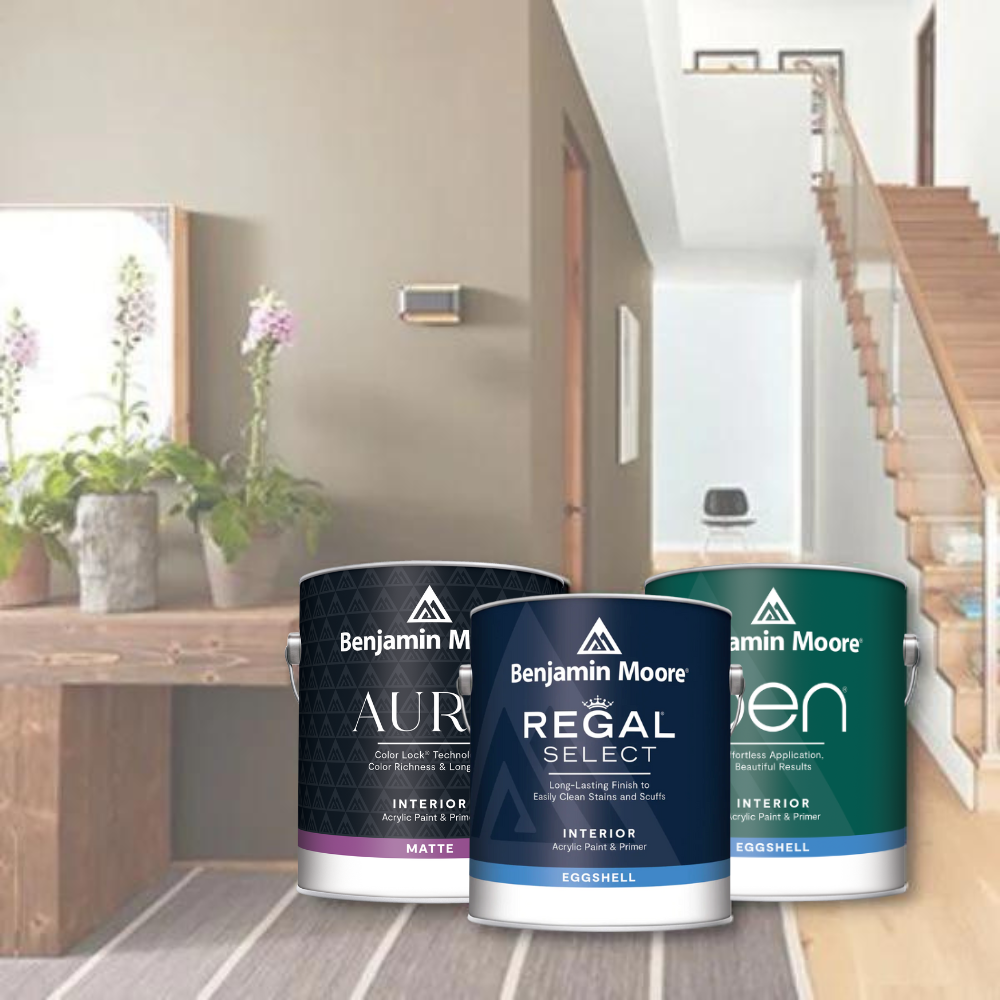
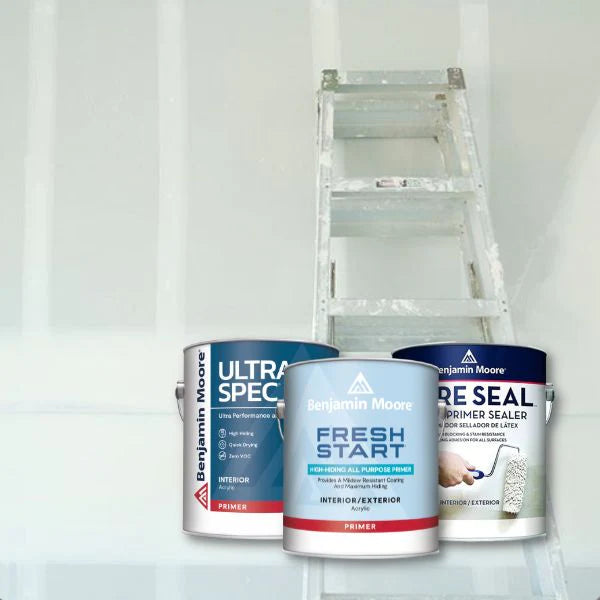
- High-quality primer
- Chalkboard paint
- Gloves
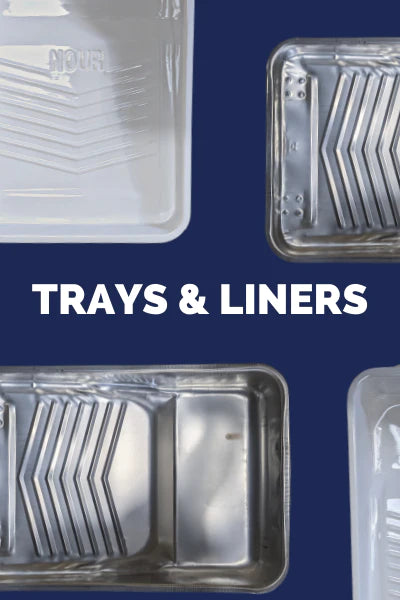
- Paint tray
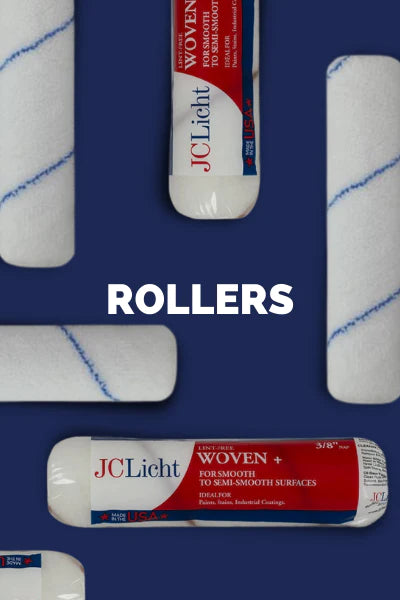
- Rollers
- Spackle
- Sandpaper
- Drop cloth
Remember, the key to a successful project lies in the preparation. Begin by spreading your drop cloth over the area to prevent any mess.
Preparing the Wall
Before your wall becomes a canvas, give it the spa treatment. Check for smoothness, and if it needs a little love, pamper it with fine-grit sandpaper. Got any holes feeling left out? Spackle them up! Your wall deserves to feel like royalty.
Clean the Wall: Wipe Away the Past
Your wall is prepped, but it needs a clean slate. Think of it as a rejuvenating facial for your wall—wipe away the dust and make sure to give those baseboards a little extra TLC. We want your wall looking fresher than ever!
Tape the Area: Precision Party
It's time to break out the painter's tape and get ready for the precision dance. Guard those baseboards, moldings, and light switches like they're the VIPs of your painting party. Planning a border for your chalkboard wall? Use the tape to map out the party zone, and don't forget your level for that perfectly even border groove.
Paint the Area: Splash Some Color
Open the paint can and let the color explosion begin! Grab your paintbrush and dance around those tight spots. Now, let's roll—literally. Use a foam roller to bring that chalkboard paint to life. One coat, two coats, maybe even three for that extra pop! Now, step back and let your wall dry for 72 hours. It's like waiting for the grand finale of a firework show.
Unveiling the Masterpiece: Removing the Tape
Once the final coat of chalkboard paint has dried, it's time to unveil your masterpiece. Carefully remove the painter's tape to reveal clean and sharp edges. This step is crucial for achieving a professional-looking finish. Take your time and enjoy the satisfaction of seeing your chalkboard wall come to life.
Embracing Creativity: Making It Your Own
Now that your chalkboard wall is ready, it's time to unleash your creativity. Use colorful chalk to create vibrant drawings, jot down daily reminders, or let your guests leave personalized messages. The beauty of a chalkboard wall lies in its versatility, allowing you to change the look of your space whenever inspiration strikes.
Tip: Treat your creation gently; only the friendliest, non-abrasive cleaners deserve a spot in your wall-cleaning arsenal. Let the creative vibes flow!
Conclusion: A Canvas of Endless Possibilities
In conclusion, creating a chalkboard wall is a rewarding DIY project that can transform any space into a canvas of endless possibilities. So, gather your materials, unleash your creativity, and let your walls become a reflection of your unique style.
Whether it's a kitchen, home office, or kids' playroom, a chalkboard wall adds a touch of whimsy and practicality. Follow our guide, and soon you'll be marveling at your very own masterpiece.
Ready to embark on this creative journey? Get your materials, put on your DIY hat, and let the transformation begin!


